Openswitch, Docker & Linux Networking - Part 1: Build an image

EDIT 01Nov2016
It looks like openswitch is going through a reboot of sorts, hard, soft, whatever, I'm not sure how relevant this information is anymore. I'll leave it up as an archive but be warned that this may be as irrelevant as the Lucas plot points for Episode 7.
Is that title click-bait or what? In the next couple of posts I'll be going through Openswitch basics and using docker & linux networking to build a simple 3 node network.
Disclaimer: I am an HPE employee, a major contributor to the Openswitch Project.
Openswitch - What, why, how?
Openswitch is an open source project building a network OS. Not a vSwitch or just a virtual appliance but a full-blown image to run directly hardware. There is loads of info at the official site here. Why? Network disaggregation is why. You choose the hardware, we supply the OS.
From zero to network
While getting an insight to software dev and open source is fun and all that, I'm a networker so my first thoughts are how do I get to play with this thing? I'm talking networks and protocols. Dire Straits can keep their MTV, I want my BGP.
Now getting started with Openswitch does take a little bit of work at the moment and there are a number of ways to get your hands on an image. The network that I will build in Part 2 requires the image in a container (options 3 or 4):
-
Option 1 - vagrant This involves setting up virtual box and vagrant then downloading an image as part of a vagrant box, details are here.
-
Option 2 - OVA
Chris Young has written a blog about this option here. I'm hoping this will be the easiest option soon but at the time of writing (April'16) there is no OVA image available for download, so you have to make the image yourself. Chris covers a how to, and I detail the steps later. -
Option 3 - docker pull from my repository:
docker pull joeneville/ops:latestThis is the quickest way to get started. If you go for this option you don't need to build the image yourself, just use a container image I've built.
Skip down to the Get docker section for docker install commands and read on from there. -
Option 4 - Make it yourself! This is the most time-consuming but my preferred option and good for those that want to get their hands dirty, plus play around with docker.
How to make an openswitch image
First we need a linux machine to act as our dev environment. If you can get a bare metal linux machine that is the preferable, if not we can work with a VM, the make process will just take alot longer. I'm using Ubuntu 14.04.4 bare metal.
Here are the build steps from scratch:
#Prepare your dev box
sudo apt-get update && sudo apt-get -y upgrade
sudo apt-get install -y gawk wget git-core diffstat unzip texinfo gcc-multilib build-essential chrpath screen curl device-tree-compiler libsdl1.2-dev xterm
#Clone openswitch ops-build
git clone https://git.openswitch.net/openswitch/ops-build
cd ops-build
#Make the openswitch image
make configure genericx86-64
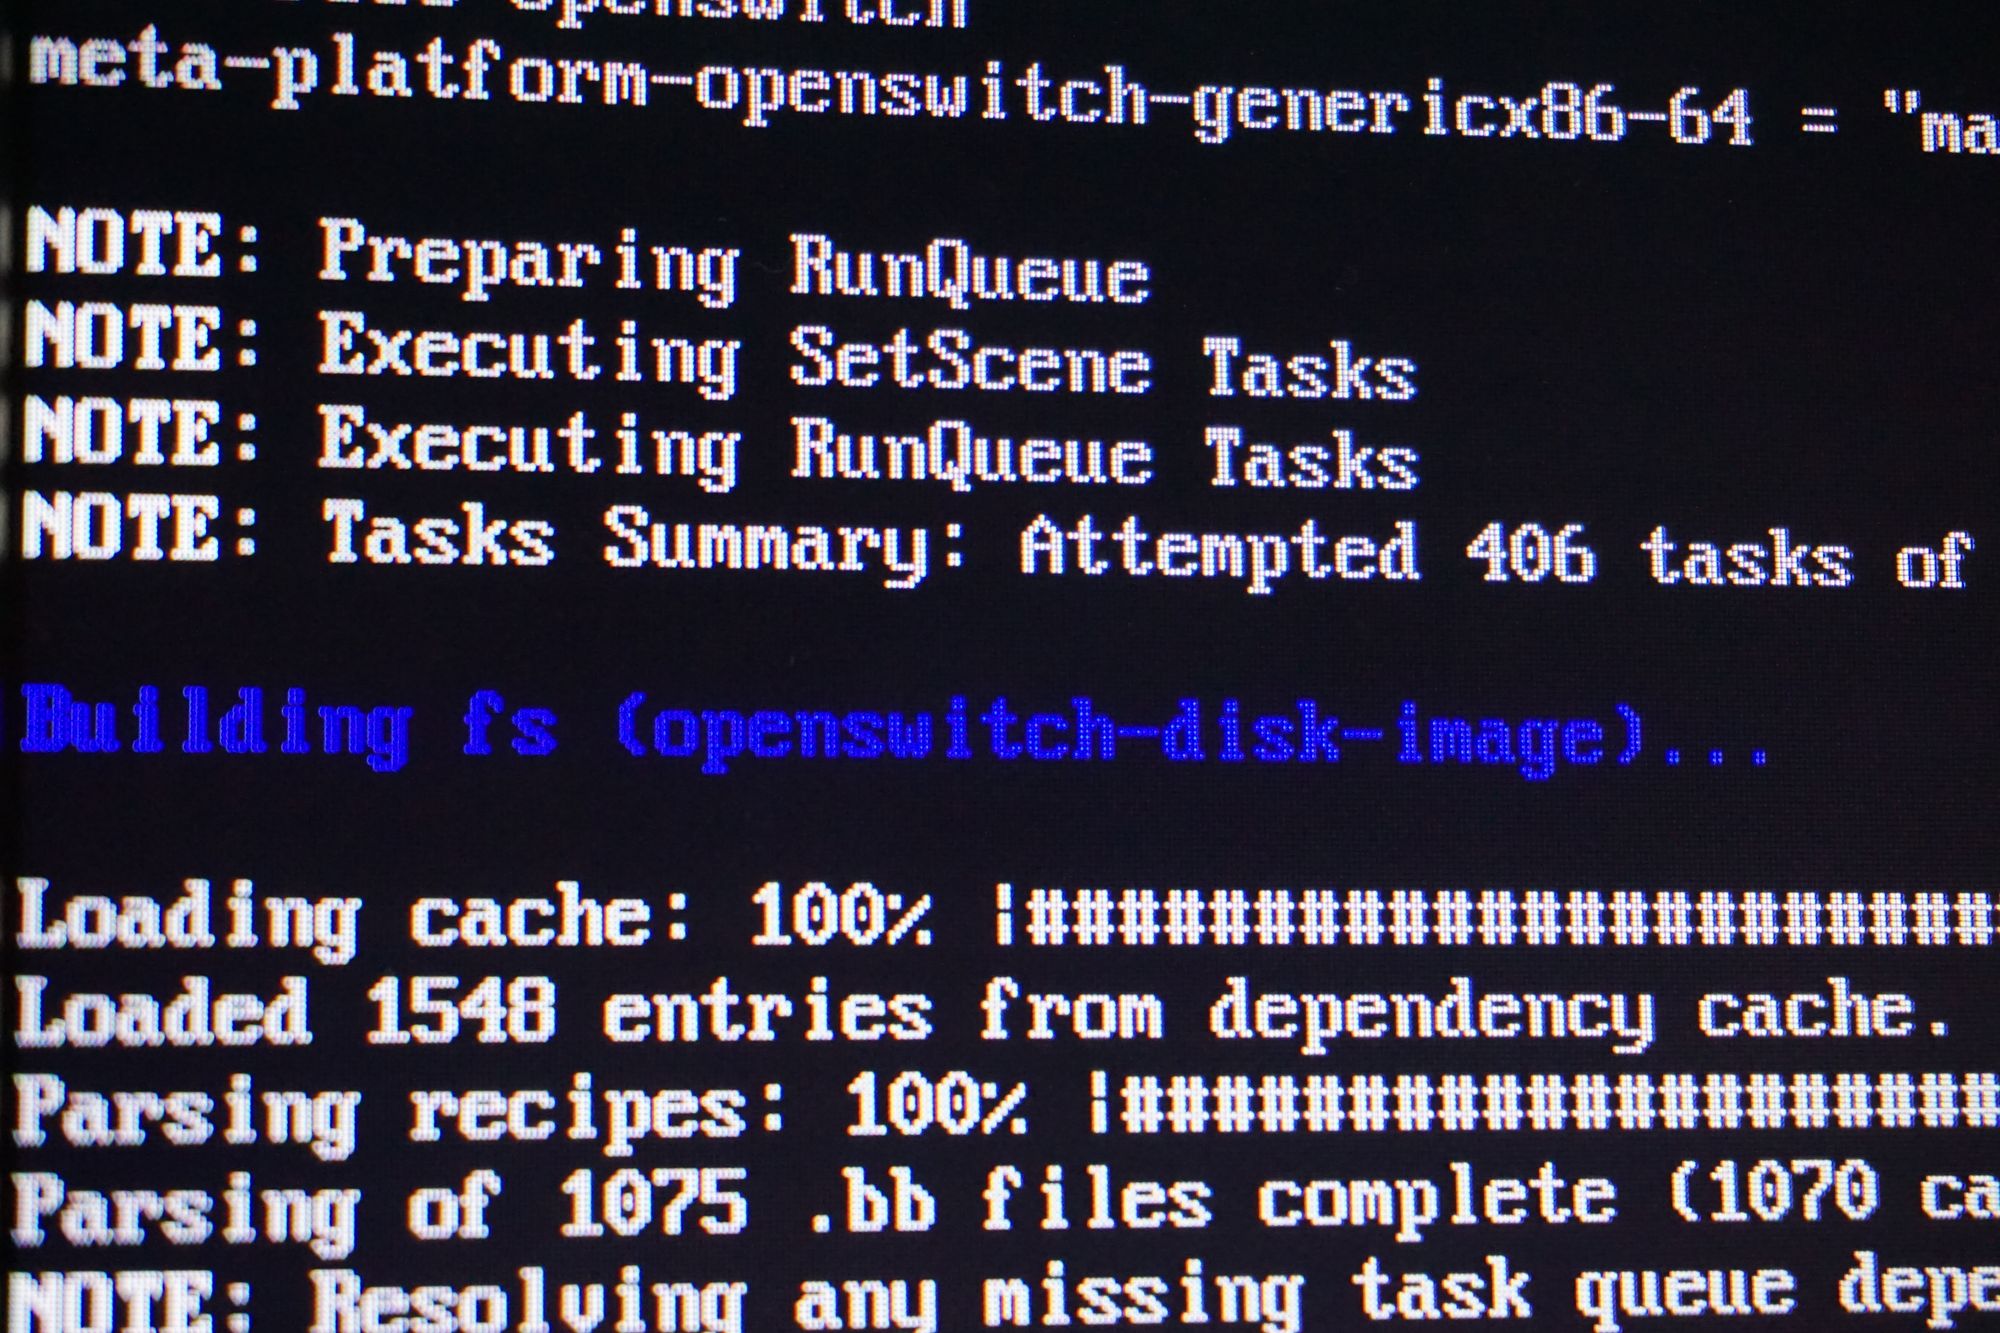
make
The image will now build, which can take a few hours if you are running on a VM.
Get docker
Now we need to install docker and create the docker image:
wget -qO- https://get.docker.com/ | sh
sudo usermod -aG docker <your-username>
#logout and back in at this point

#export build as docker image openswitch
cd ops-build
sudo make export_docker_image openswitch
You should be able to see the newly created openswitch docker image, ready to use:
joe@u14-1:~$ docker images
REPOSITORY          TAG                 IMAGE ID            CREATED             SIZE
openswitch          latest              bc514a51412b        20 minutes ago      376 MB
As fun as it is to regularly make new openswitch images (and watch youtube vids during build while persuading yourself you are still working), you might want to skip this step in the future.
-
docker saveto save the image to a tar file. -
docker pushto save the image on docker's online container store docker hub . I've been doing the latter so that I can easily blow away my linux dev machine and not worry about saving my latest image:
joe@u14-1:~$ docker tag openswitch joeneville/ops:latest
joe@u14-1:~$ docker images
REPOSITORY          TAG                 IMAGE ID            CREATED             SIZE
joeneville/ops      latest              bc514a51412b        33 minutes ago      376 MB
openswitch          latest              bc514a51412b        33 minutes ago      376 MB
joe@u14-1:~$ docker login
joe@u14-1:~$ docker push joeneville/ops:latest
In order to save to this repository users must authenticate, hence my use of docker login. But the repository is public so anyone can download my image with:
docker pull joeneville/ops:latest
Hence how this ties into Option 3 above. Anyone is free to create and maintain their own docker hub respository, it means one less thing to worry about when using different machines.
Once we have the docker image we are ready to build our first openswitch in a container. Here's the generic build command:
docker run --privileged -v /tmp:/tmp -v /dev/log:/dev/log -v /sys/fs/cgroup:/sys/fs/cgroup -h <hostname> --name <container-name> <docker-image-name> /sbin/init &
So to build a container named 'ops1' with the latest image in the joeneville/ops repository run the following:
docker run --privileged -v /tmp:/tmp -v /dev/log:/dev/log -v /sys/fs/cgroup:/sys/fs/cgroup -h ops1 --name ops1 joeneville/ops /sbin/init &
If you have not performed a docker pull already for the repository, you can just run this command and docker will search docker hub, download the latest image first, then build the container. How's that for efficient?
Now check docker ps to ensure ops1 is running:
joe@opsU14-1:~$ docker ps
CONTAINER ID        IMAGE               COMMAND             CREATED             STATUS              PORTS               NAMES
a24b4b06b7f0        joeneville/ops      "/sbin/init"        23 seconds ago      Up 17 seconds                           ops1
docker networking 101
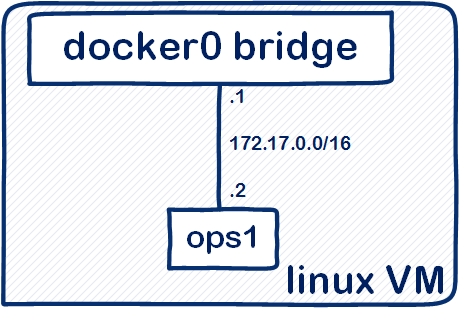
By default docker creates a linux bridge 'docker0', attaches new containers to it and dishes out incrementing addresses in the 172.17.0.0/16 range with itself as 172.17.0.1, the first container as .2, second container .3 etc.
Use docker network ls and docker network inspect bridge to glean more info.
Our ops1 container is assigned 172.17.0.2, you can access it from you linux VM with ssh:
joe@opsU14-1:~$ ssh root@172.17.0.2

root@switch:~#
At this point we are on the container CLI, not openswitch, you can view info using the standard bash commands:
root@switch:~# ip add
4: eth0@if5: <BROADCAST,MULTICAST,UP,LOWER_UP> mtu 1500 qdisc noqueue state UP group default
    link/ether 02:42:ac:11:00:02 brd ff:ff:ff:ff:ff:ff
    inet 172.17.0.2/16 scope global eth0
       valid_lft forever preferred_lft forever
    inet6 fe80::42:acff:fe11:2/64 scope link
       valid_lft forever preferred_lft forever
To access openswitch just enter vtysh:
root@switch:~# vtysh
switch# sh version
OpenSwitch 0.3.0 (Build: genericx86-64-ops-0.3.0-master-20160411092410-dev)
So welcome to the exciting new world of openswitch! Make yourself at home and look around, the CLI is very familar to anyone who knows a 'show' command or two.
Here's a couple of videos covering the processes to use my docker repo image or build an image yourself:
Word of warning
Openswitch is very much in the development stage, with bugs being discovered and fixed on a daily basis. There is no official release image yet so if you do use my image there is no guarantee of useability, I'll just be running a push as and when I do a new openswitch build. So use at your own risk.
Hopefully that hasn't scared you too much so join me in Part 2 where we get on to the fun stuff and build an openswitch network. I'll leave you with a pic of some daffodils because it is springtime and I love The Smiths.